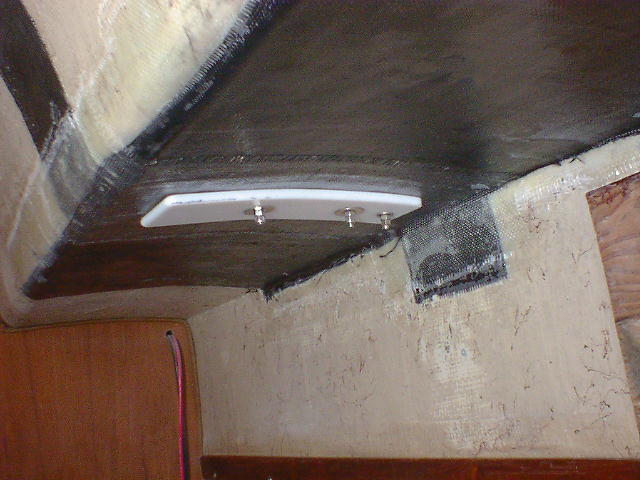
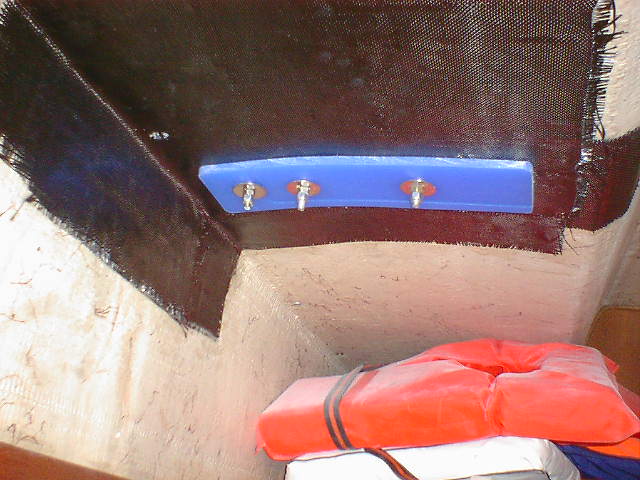
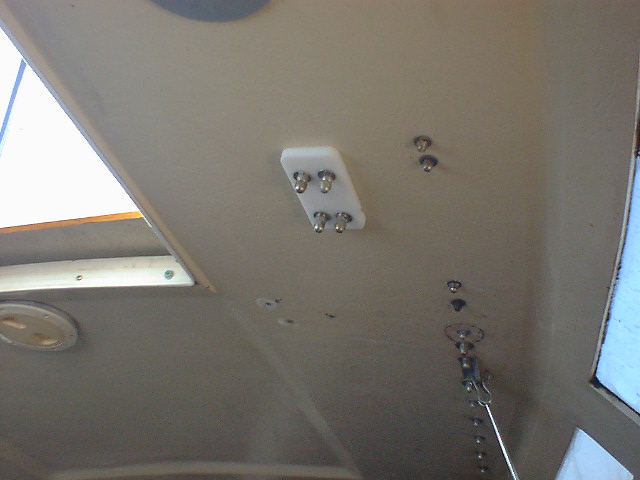
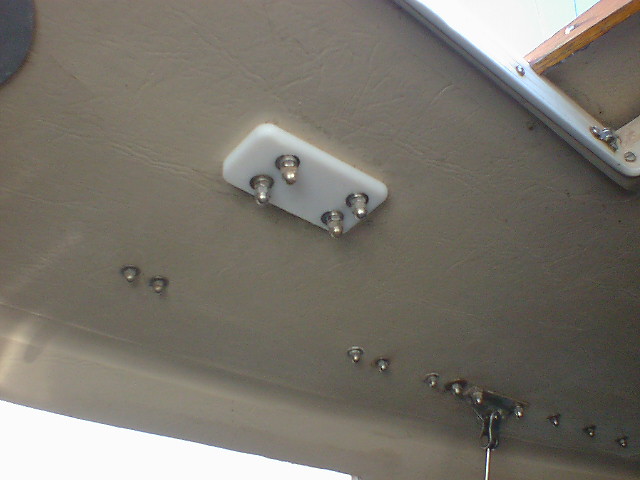
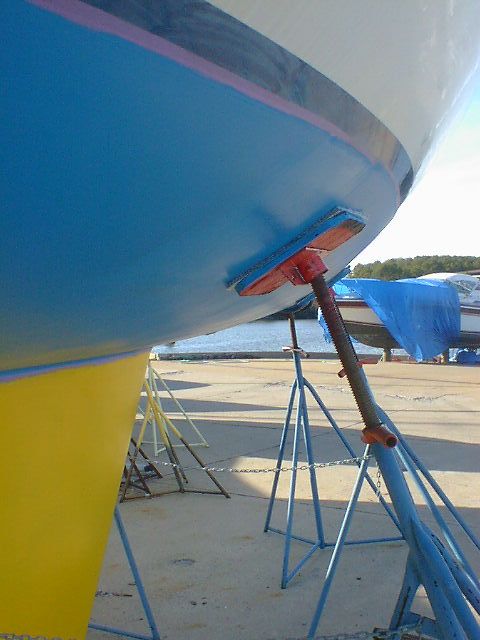
Here are some shots of the backers for the clutches and traveler. They are made of cutting board material, which is easy to shape.
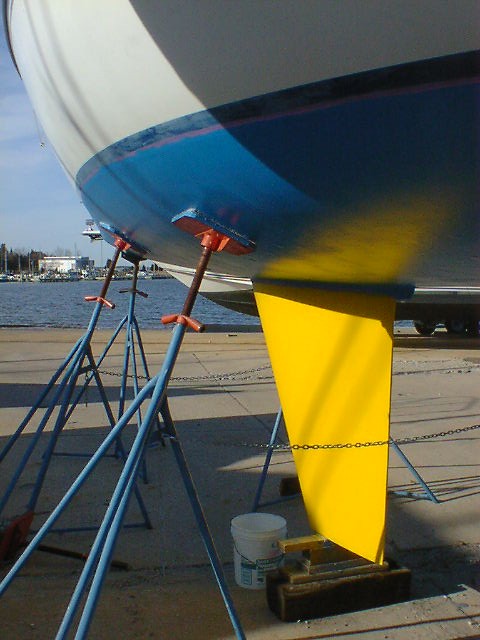
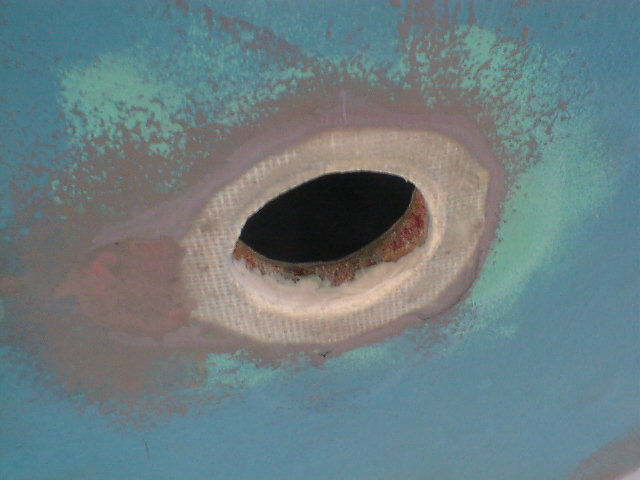
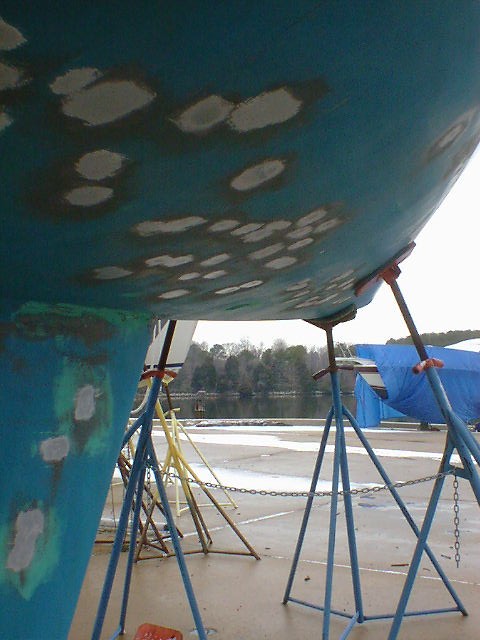
 Was too cold to do too much today. Here are the blisters all filled in and sanded smooth, along with the spots of Rustlok Steel Primer 6980 to seal them.
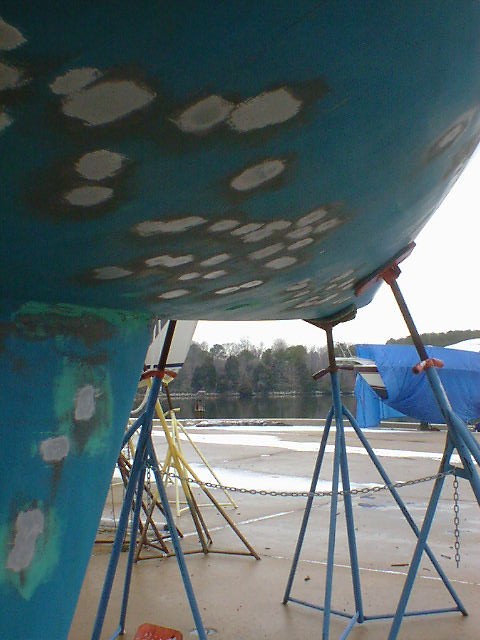
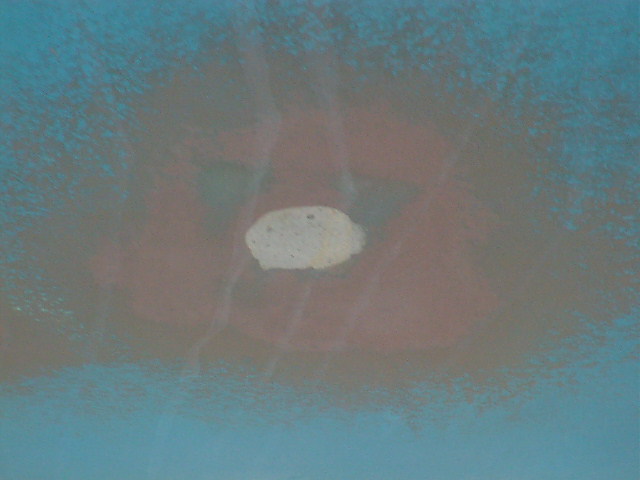
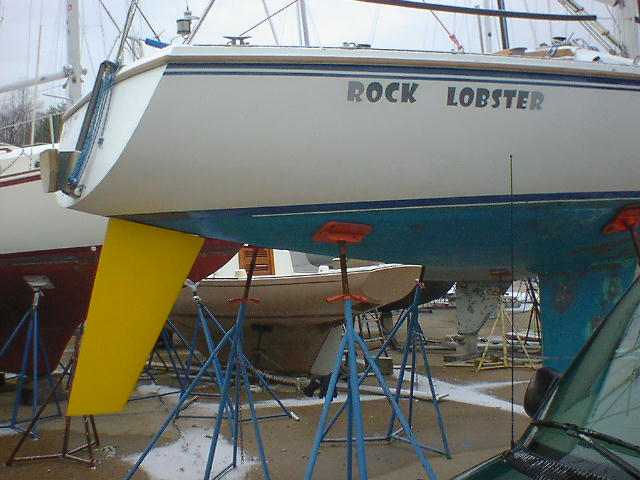
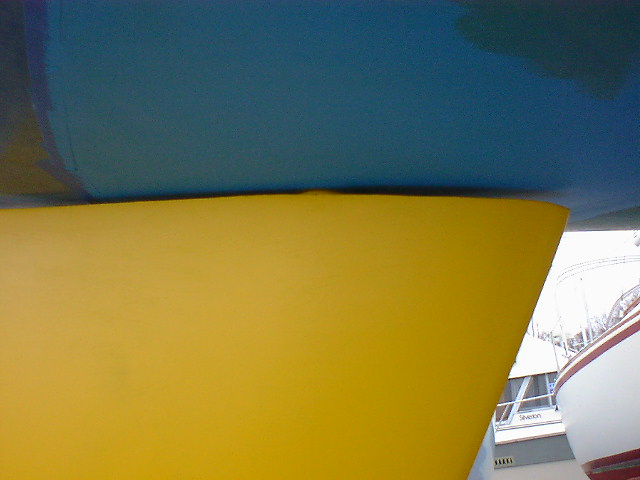
 Been a while since I made a post, but still been working hard. I keep forgetting my camera. Got to be done soon, as races start on 19 March....just a few short weeks left. I must be in the water by the 17th!! Bottom blisters are all filled and sanded smooth, just need to seal the repairs prior to paint. Hole has been enlarged to accomodate a new paddlewheel transducer. Seats are done. Traveler needs to be installed. Keel needs a little fairing and the whole boat needs paint. I've got the rudder in the garage and started painting it there. Using PETIT VIVID (in yellow). I'm spraying the rudder to see how smooth I can get this stuff, but the boat will need to be painted by roller or pad. I thinned the paint with Xylene to the max limit on the label to make it easier to spray. I'm running 45lbs pressure on 100' hose to a 'Harbor Freight' touch up sprayer. :)
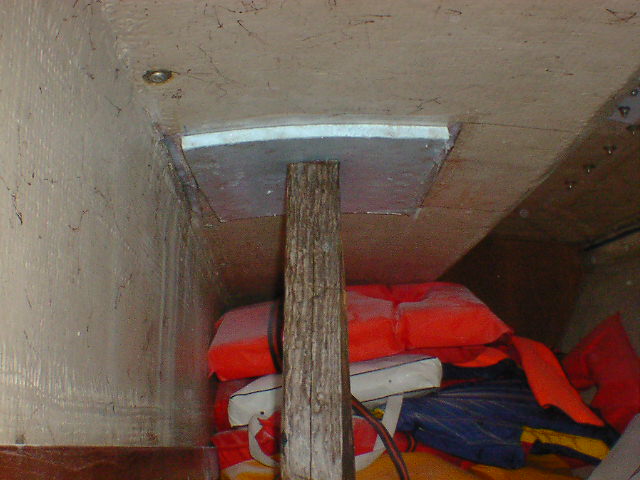 The port side only had a 12" square delaminated area. This should be much easier to do than the other side was. :)
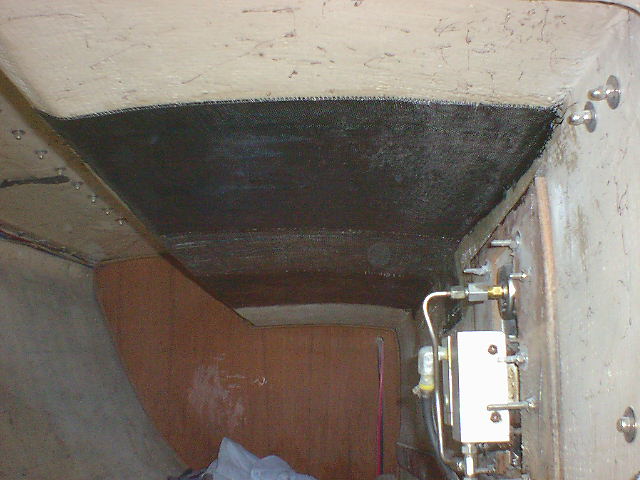 Weather was good again (~45 this morning), so I decided to lay up the final layers of 3K carbon fiber and 14.5 oz glass. The final count is 1 strip 8" 6K carbon fiber as a stiffener under the traveler, 1 layer overlapped 12" 14.5oz glass, 1 strip 4" glass tape under the traveler, 1 layer continuous 3K carbon fiber, and a final 12" 14.5 oz glass strip under the traveler again. Seems pretty tough...I hope it stays together over the racing season. I've got a 12" hole in the seat on the port side I'll do next time I go down...will be easy to do in one layup I think.
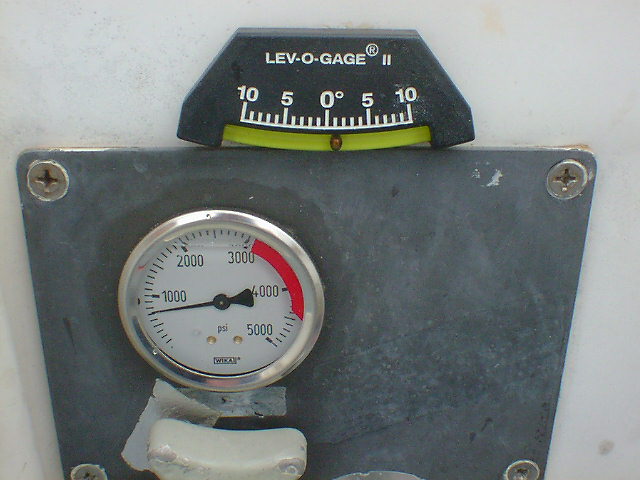 Hey, the system is old and beat, but it works and the gauge looks good and pressure seems to read well. 3K PSI max for this boat!!
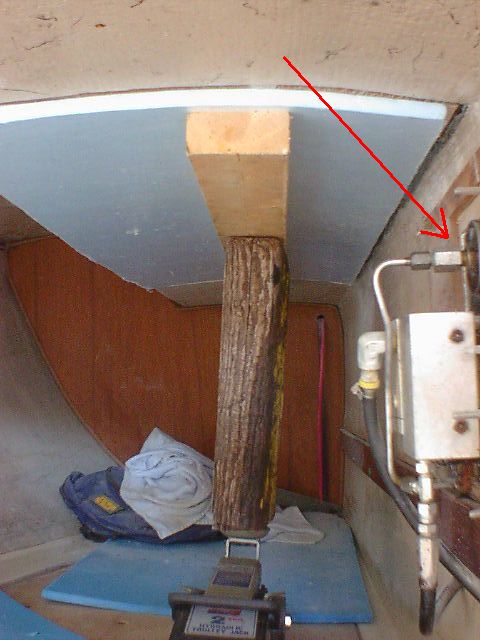 The contraption in the photo is our old Stearns hydraulic backstay adjuster. The gauge never worked, so I'm replacing it with one from here. http://www.gaugestore.com/gaugestore/97wikpresgau26.html
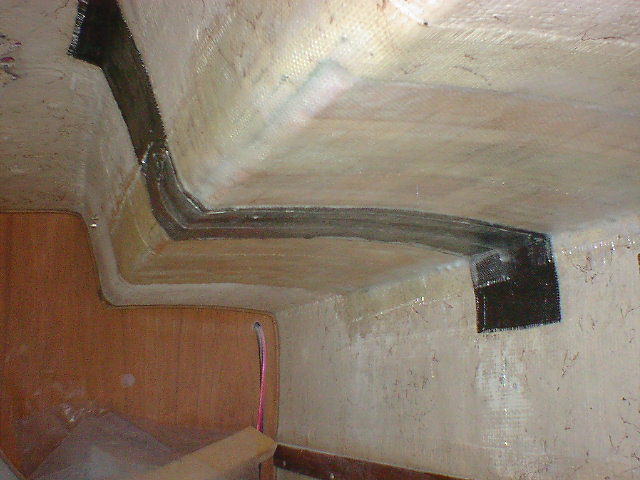 The weather was cool today, around 40. Decided to add the 14.5 oz skin components. I used 12" cloth run transversally in 4 sections for this layer. I also ran a row of 4" tape down the center where I had overlap on the carbon. I wet out the glass on a piece of polyethelyne sheeting, then applied the wet mess by hand. It stuck well and all that was required was a little smoothing. I wore purple nitrile gloves this time....huge difference, no mess. :)

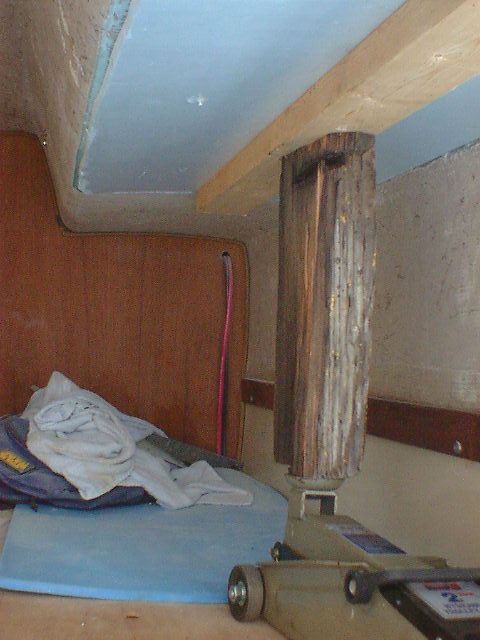
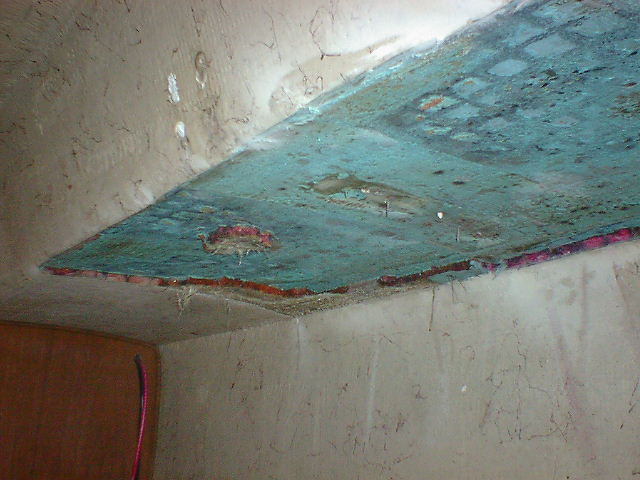
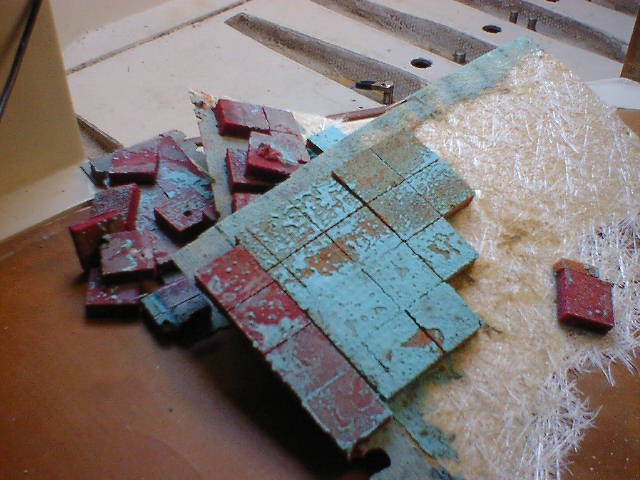
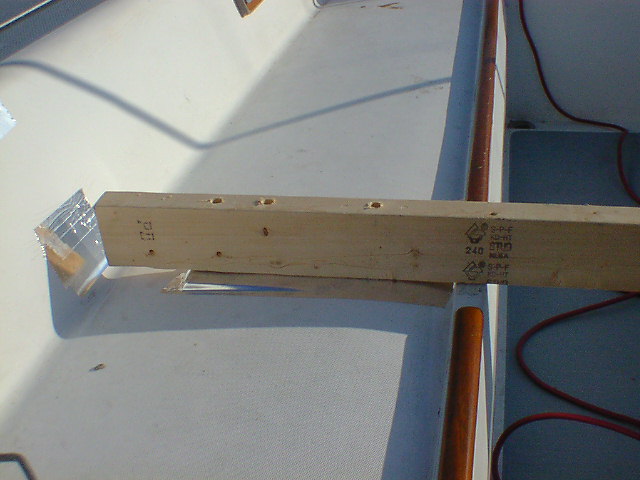
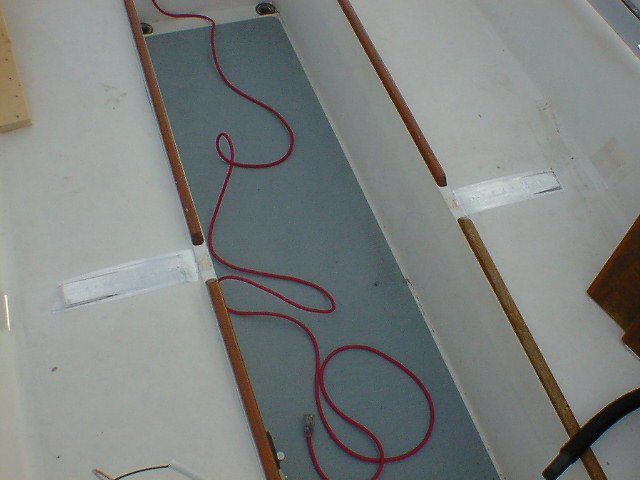
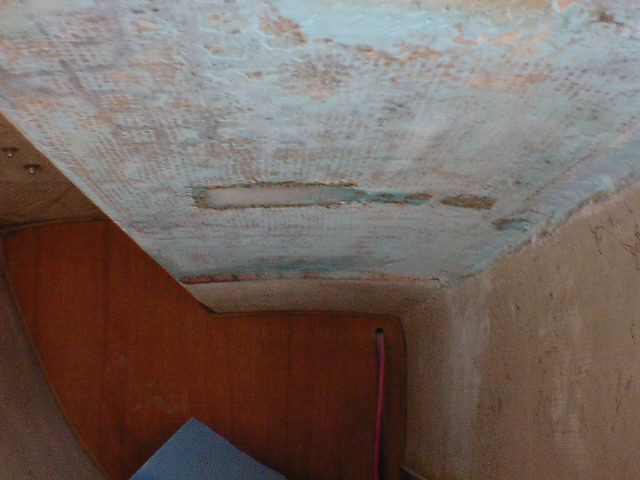 Was a nice day today...a little too nice, as the temperature approached 60 degrees. The Low Temperature Epoxy I have is good from 38 to 60...eek! After sanding the bulk of the old 'blue cheeze' filler off the deck, I test fit the compression fixture to make sure it would hold everything in place while the epoxy cured.
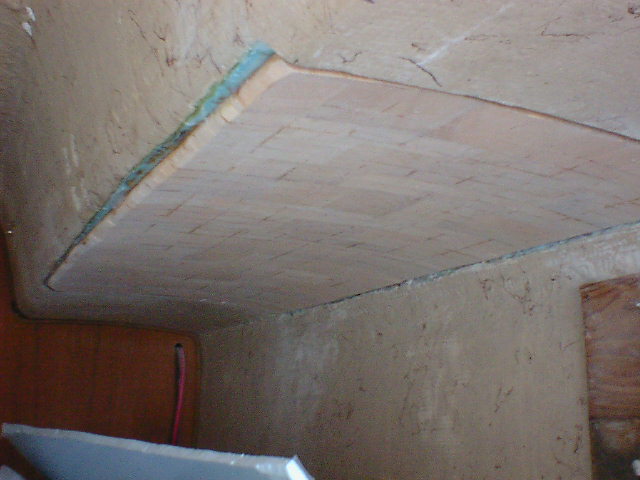 Next was to mix up the Low Temperature Epoxy and prime the surfaces. This was no big deal, but I did notice that the epoxy did not go as far as I thought it would. Oh well. After priming both surfaces, I added the hardener to the BOG mix I made up front by thickening the part A with colloidial silica...I did this so I would not waste time mixing. The mix was not as thick as I wanted, so I had to go back and add more filler. Again, the bog did not go as far as I thought it would. I pasted the boat surface with one batch, and hit the core with another batch. It was no where near the thickness I originally wanted...I ended up with about a millimeter thick layer on everything.

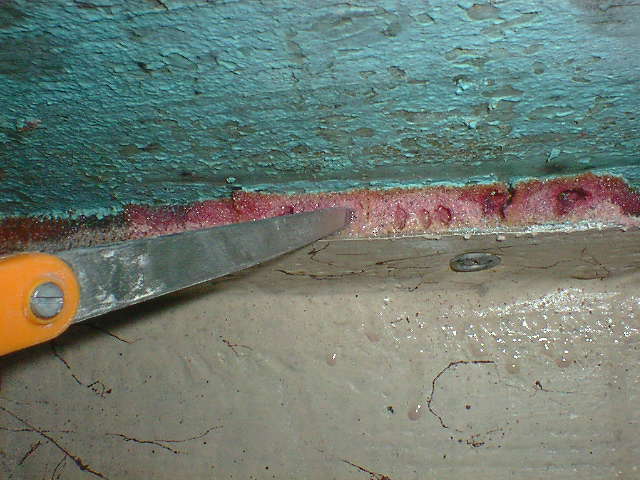
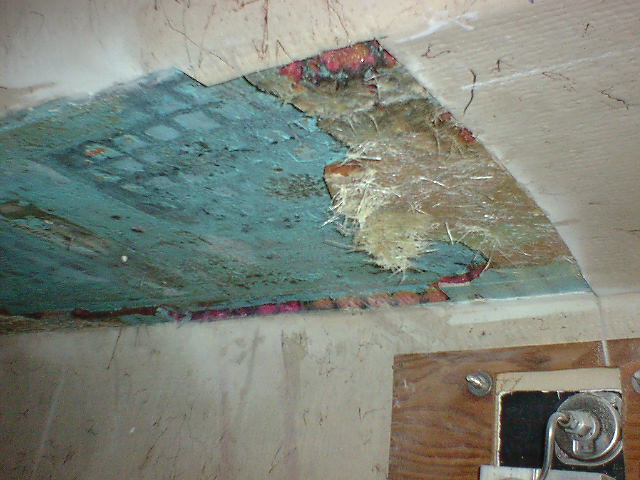
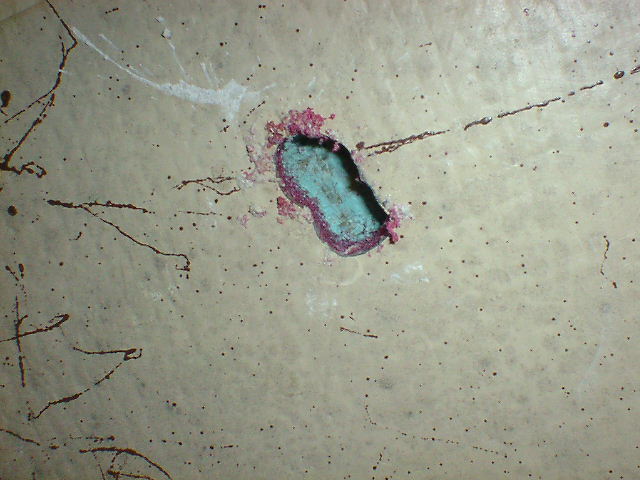
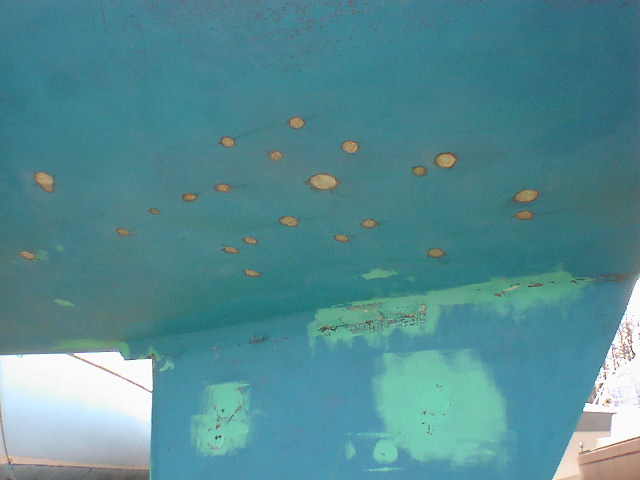 Well, there were more there than I thought...but figure I better get them all now while I have time. This is about two thirds of them. There are just smaller ones left that will be easier to get done, now that I have the technique down. The tool of choice is a dremel tool with the small drum sanding bit. Takes them down in a hurry with coarse paper. :)